Shipping Frozen Meat With Dry Ice: Packing Steps
Shipping frozen meat with dry ice requires a controlled packing sequence and a package that releases gas. Begin with frozen meat, suitable inner packaging and a tested coolant arrangement. Confirm the carrier's current packing rules before dispatch.
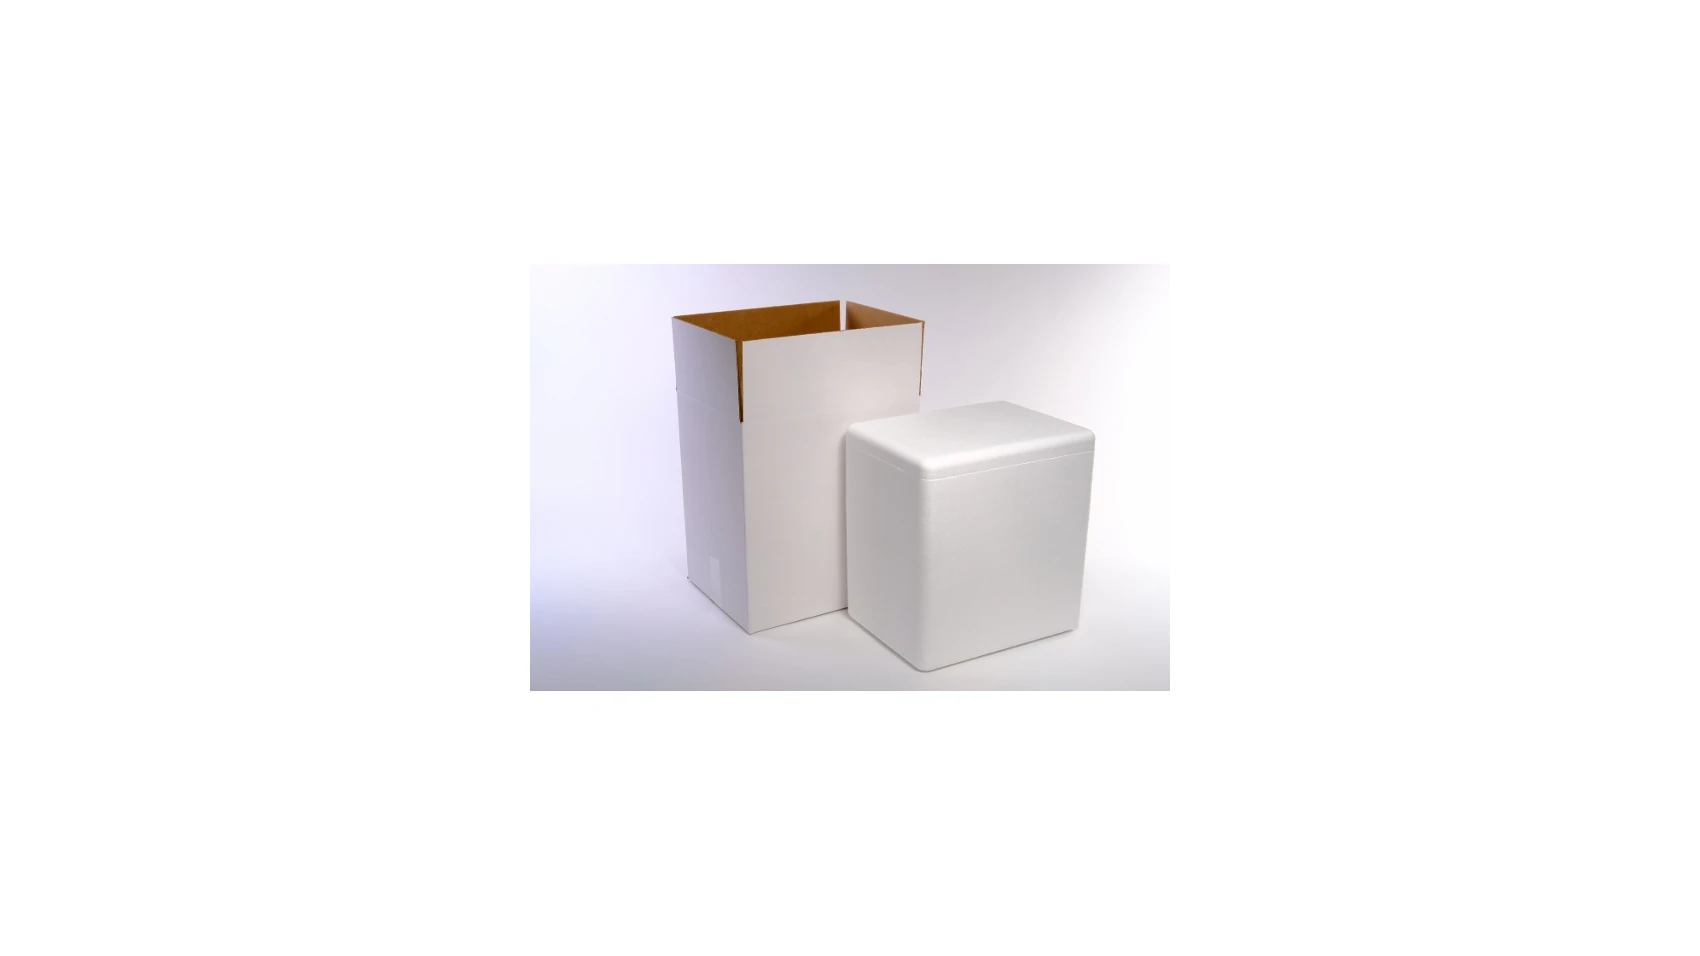
This guide assumes you have selected dry ice as the method. For method selection, start with How to Ship Frozen Meat and the broader dry-ice resource.
For other application and coolant routes, use How to Ship Perishables.
Prepare the packing station
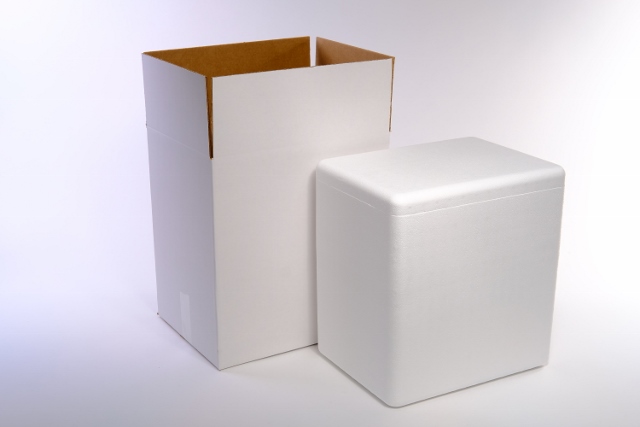
Prepare the cooler, outer carton, protective layers, absorbent material and labels before removing meat from storage. Have the protective equipment required by the dry-ice supplier ready before handling coolant. Work in a ventilated area and prevent direct skin contact. Use the UPS dry-ice safety instructions alongside the requirements for your selected service.
Confirm carrier acceptance, collection timing and required preparation before starting the packout. Keep labels and shipment details ready to avoid delays after packing.
Use the tested packing plan for that meat order. It should define the load range, coolant amount and layout. Do not estimate quantities from the empty cooler's appearance.
Step 1: Inspect and contain the meat
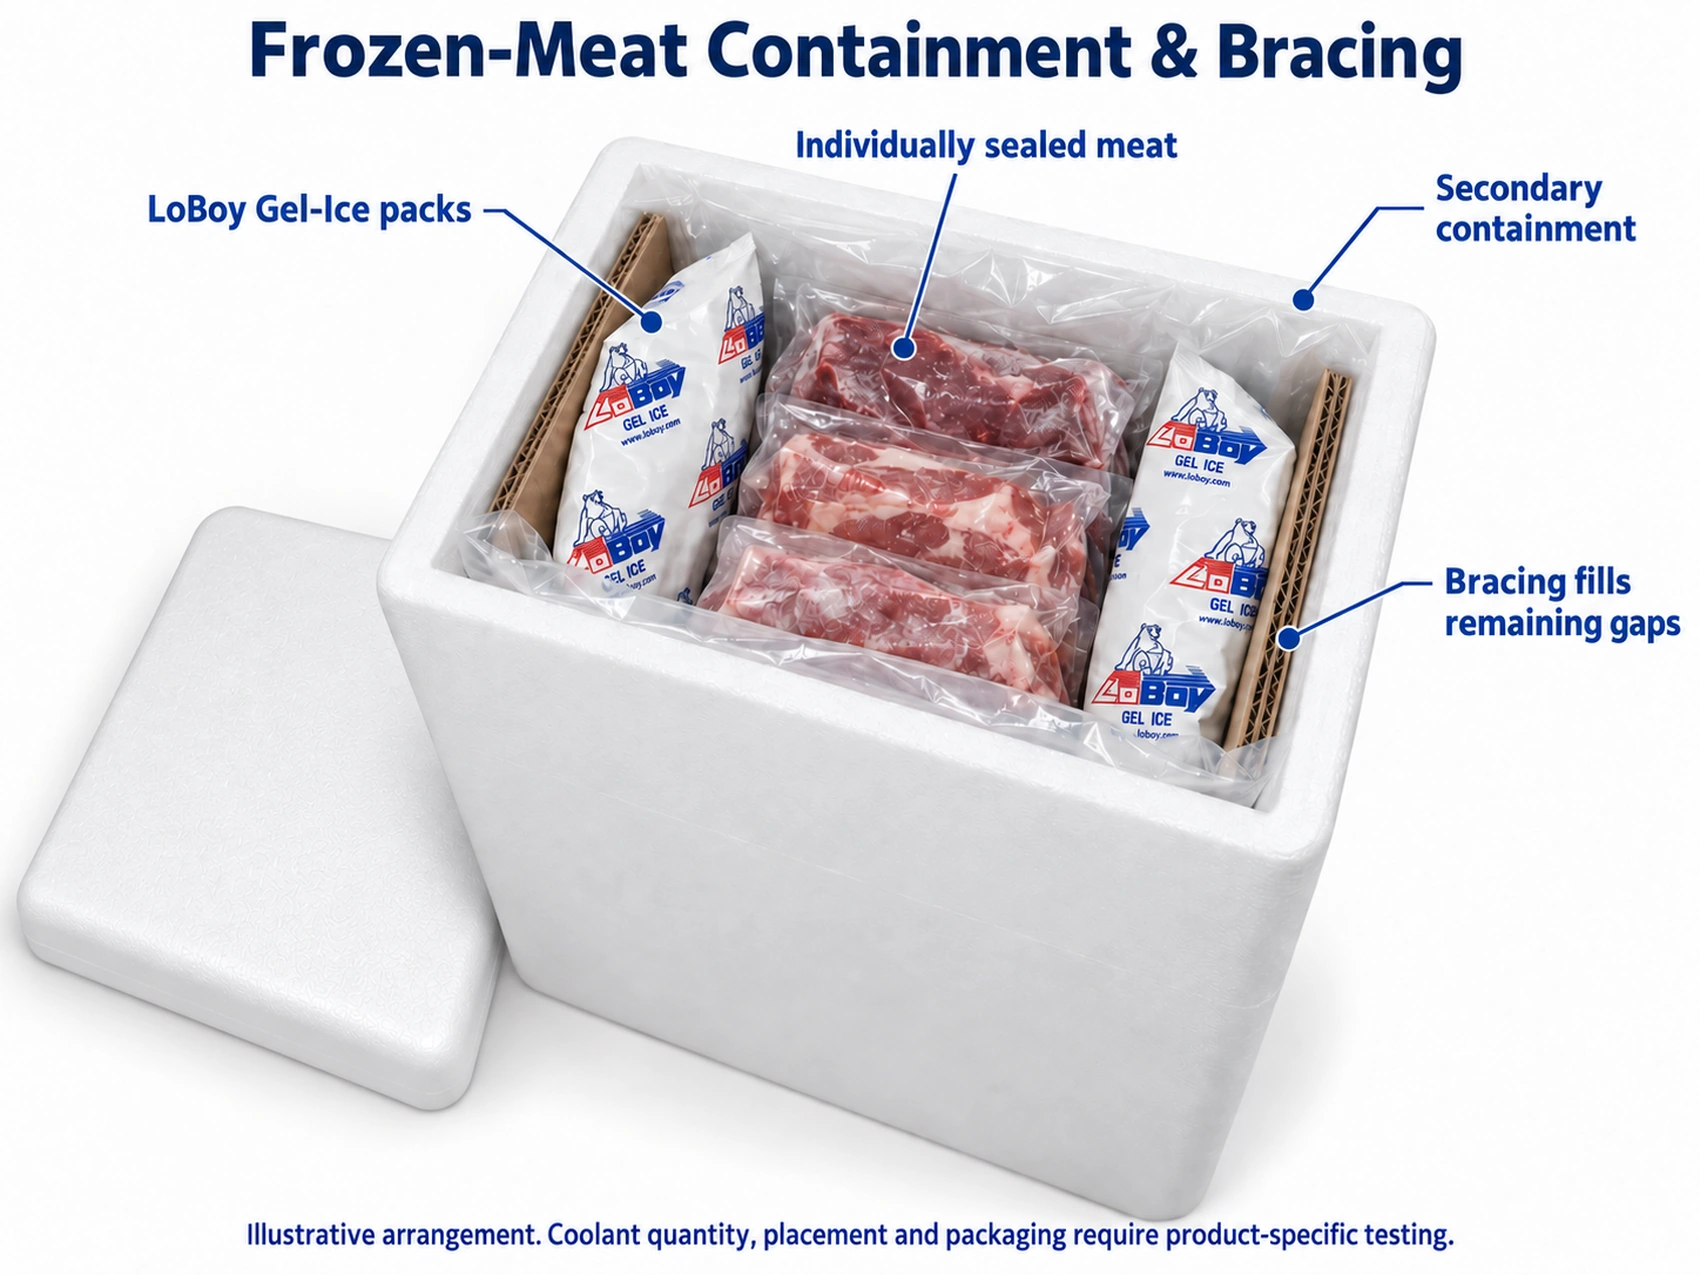
Check product seals and protect vulnerable edges. Add a leak barrier suited to the wrapped meat and its moisture risk. Keep food protected from direct dry-ice contact.
Arrange the cuts so their packaging remains intact under the planned load. Confirm that the protected meat fits the planned layout before adding coolant. If the order needs force to fit, review the cooler size or arrangement.
Step 2: Load the insulated cooler
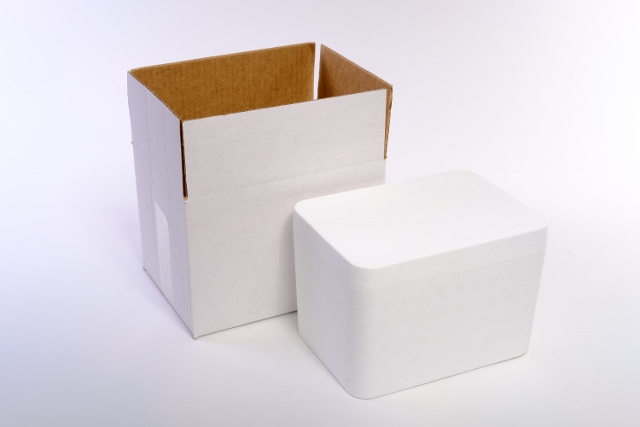
Position the product and dry ice according to the tested layout. Keep the specified barrier between coolant and meat. Add absorbent material and padding as shown in the packing plan.
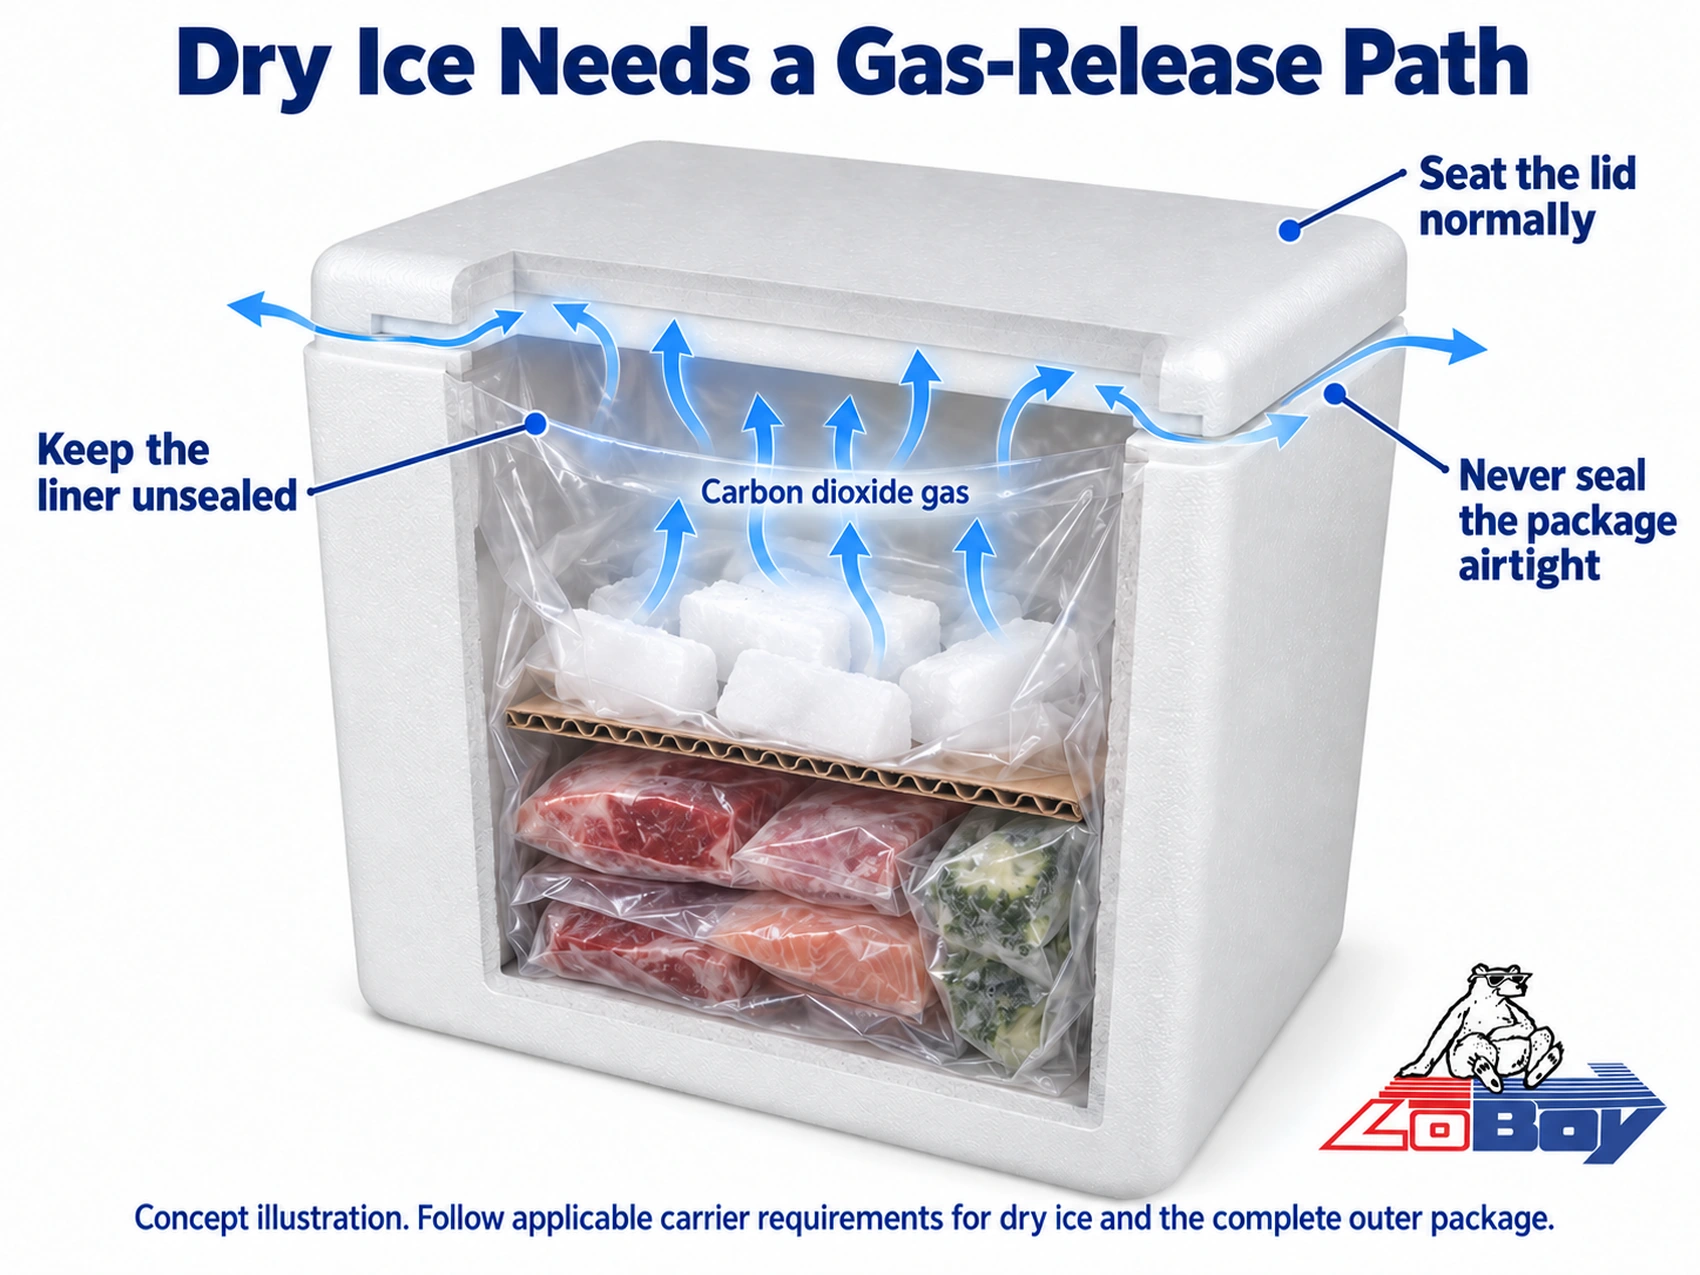
Prevent movement as dry ice disappears during transit. Do not use cushioning or wrapping that makes the system airtight. Preserve the gas-release path through the complete package.
Keep the meat supported as coolant disappears
Check what holds each cut in place after some dry ice has turned to gas. A roast resting against a coolant block may gain room to move later. Use the support shown in the tested plan rather than wedging in spare material at the station.
Keep sharp edges and tray corners away from meat bags and seals. Review the smallest order as well as the largest; the smaller load may have more empty space. Padding should hold the product without making the package airtight.
When the instruction calls for dry ice, do not substitute gel packs or mix them into the load without review. The change affects both fit and cooling. Record it as a new arrangement that needs supporting trials.
Step 3: Add monitoring and close correctly
Place sensors as defined in the test plan. Record the load layout and coolant weight. Close the cooler and fit it into its protective outer carton.
Secure the carton using the approved closure method. Keep the required gas-release path open. The UPS packing guide explains why gas release is essential.
For FedEx dry-ice shipments, polystyrene used as the outer package requires preapproval. Foam inside a protective box and foam used as the outer package are different packing choices. Check FedEx’s packing instructions before adopting the container and closure.
Step 4: Complete carrier preparation
Confirm the rules for the selected carrier, service and transport mode. Apply its required markings and labels, enter accurate shipment information and prepare any required documents. One carrier's dry-ice instructions do not replace another's rules.
Use the current instructions from FedEx, UPS or USPS for that service. Verify the current requirements again when the service or route changes.
Step 5: Tender, track and prepare the recipient
Meet the collection cutoff and confirm the delivery address. Tell the recipient when the package should arrive and how to handle remaining dry ice. Provide the food's storage and inspection instructions.
Track delivery exceptions and retain the package version used for each order. If arrivals fail, compare the route, initial product condition and packout before changing the process.
Record the coolant and package version at packing
Record the dry-ice amount used in the actual parcel, not just the amount ordered from the supplier. Link that record to the meat order and package version. The packing team needs a clear way to confirm that the load matches the tested instruction.
If the required components are unavailable, hold the order for review. An improvised cooler size, coolant load or barrier can change the result. Name the person who can resolve the exception before staff begin the next order.
Keep dispatch records available if the receiver reports a problem. Compare actual collection and receipt times with the planned window. This helps your team choose a focused trial instead of changing every part of the package at once.
Keep the instruction current
Recheck the arrangement when cut sizes, order quantities, coolant format or routes change. A smaller meat order can leave more movement space; a larger one can displace the planned coolant. Check both against the approved load range.
Record the corrected packing instruction after a successful retest. Keep the earlier version available when investigating customer orders packed before the change.
Questions about frozen meat and dry ice
How much dry ice belongs in a meat box?
For an initial estimate, use 5–10 pounds of dry ice per 24 hours, the planning range in FedEx’s dry-ice shipping guidance. That gives 10–20 pounds for 48 hours before a delay allowance. FedEx also suggests allowing another 24 hours for possible delays; a 48-hour trip plus that allowance gives a starting estimate of 15–30 pounds. These longer-window figures are calculations from the daily range, not measured results for your meat box.
Actual sublimation and cooling needs vary with the meat’s weight, shape and starting temperature, cooler size and wall construction, dry-ice form and placement, outside temperatures and the full packing-to-receipt window. Start with already frozen meat, trial the complete arrangement and adjust the amount using the results. Check your carrier service’s quantity limits before selecting the load. The dry-ice shipping guide explains the estimates, sublimation and delay planning in more detail.
Can I seal the cooler tightly to conserve coolant?
Dry ice releases carbon dioxide gas, which can create dangerous pressure inside an airtight package. Use the closure and gas-release path required by the carrier and your approved package design.
Complete a final release check
Before collection, compare the actual parcel with its approved packing instruction.
- The protected meat load is within the tested range.
- Cooler, outer carton and separation match the specified components.
- Dry-ice mass and positions match the tested arrangement.
- The package closes correctly and permits gas release.
- Required carrier preparation is complete for the selected service.
- The recipient has storage and dry-ice handling instructions.
Keep the completed check with the package version. If the load or service changes after preparation, review the affected requirements before handing it to the carrier.
For detailed preparation, use dry-ice labels and the selected FedEx or UPS procedure. The meat-duration guide addresses the full receiving window. Use empty-space planning when coolant loss could leave the load unsupported.
Compare insulated meat-shipping coolers
Review LoBoy shipping containers or speak with the Client Solutions Team. Bring the full packout dimensions so container selection accounts for meat, coolant and protection.