Where to Place Gel Packs in a Shipping Cooler
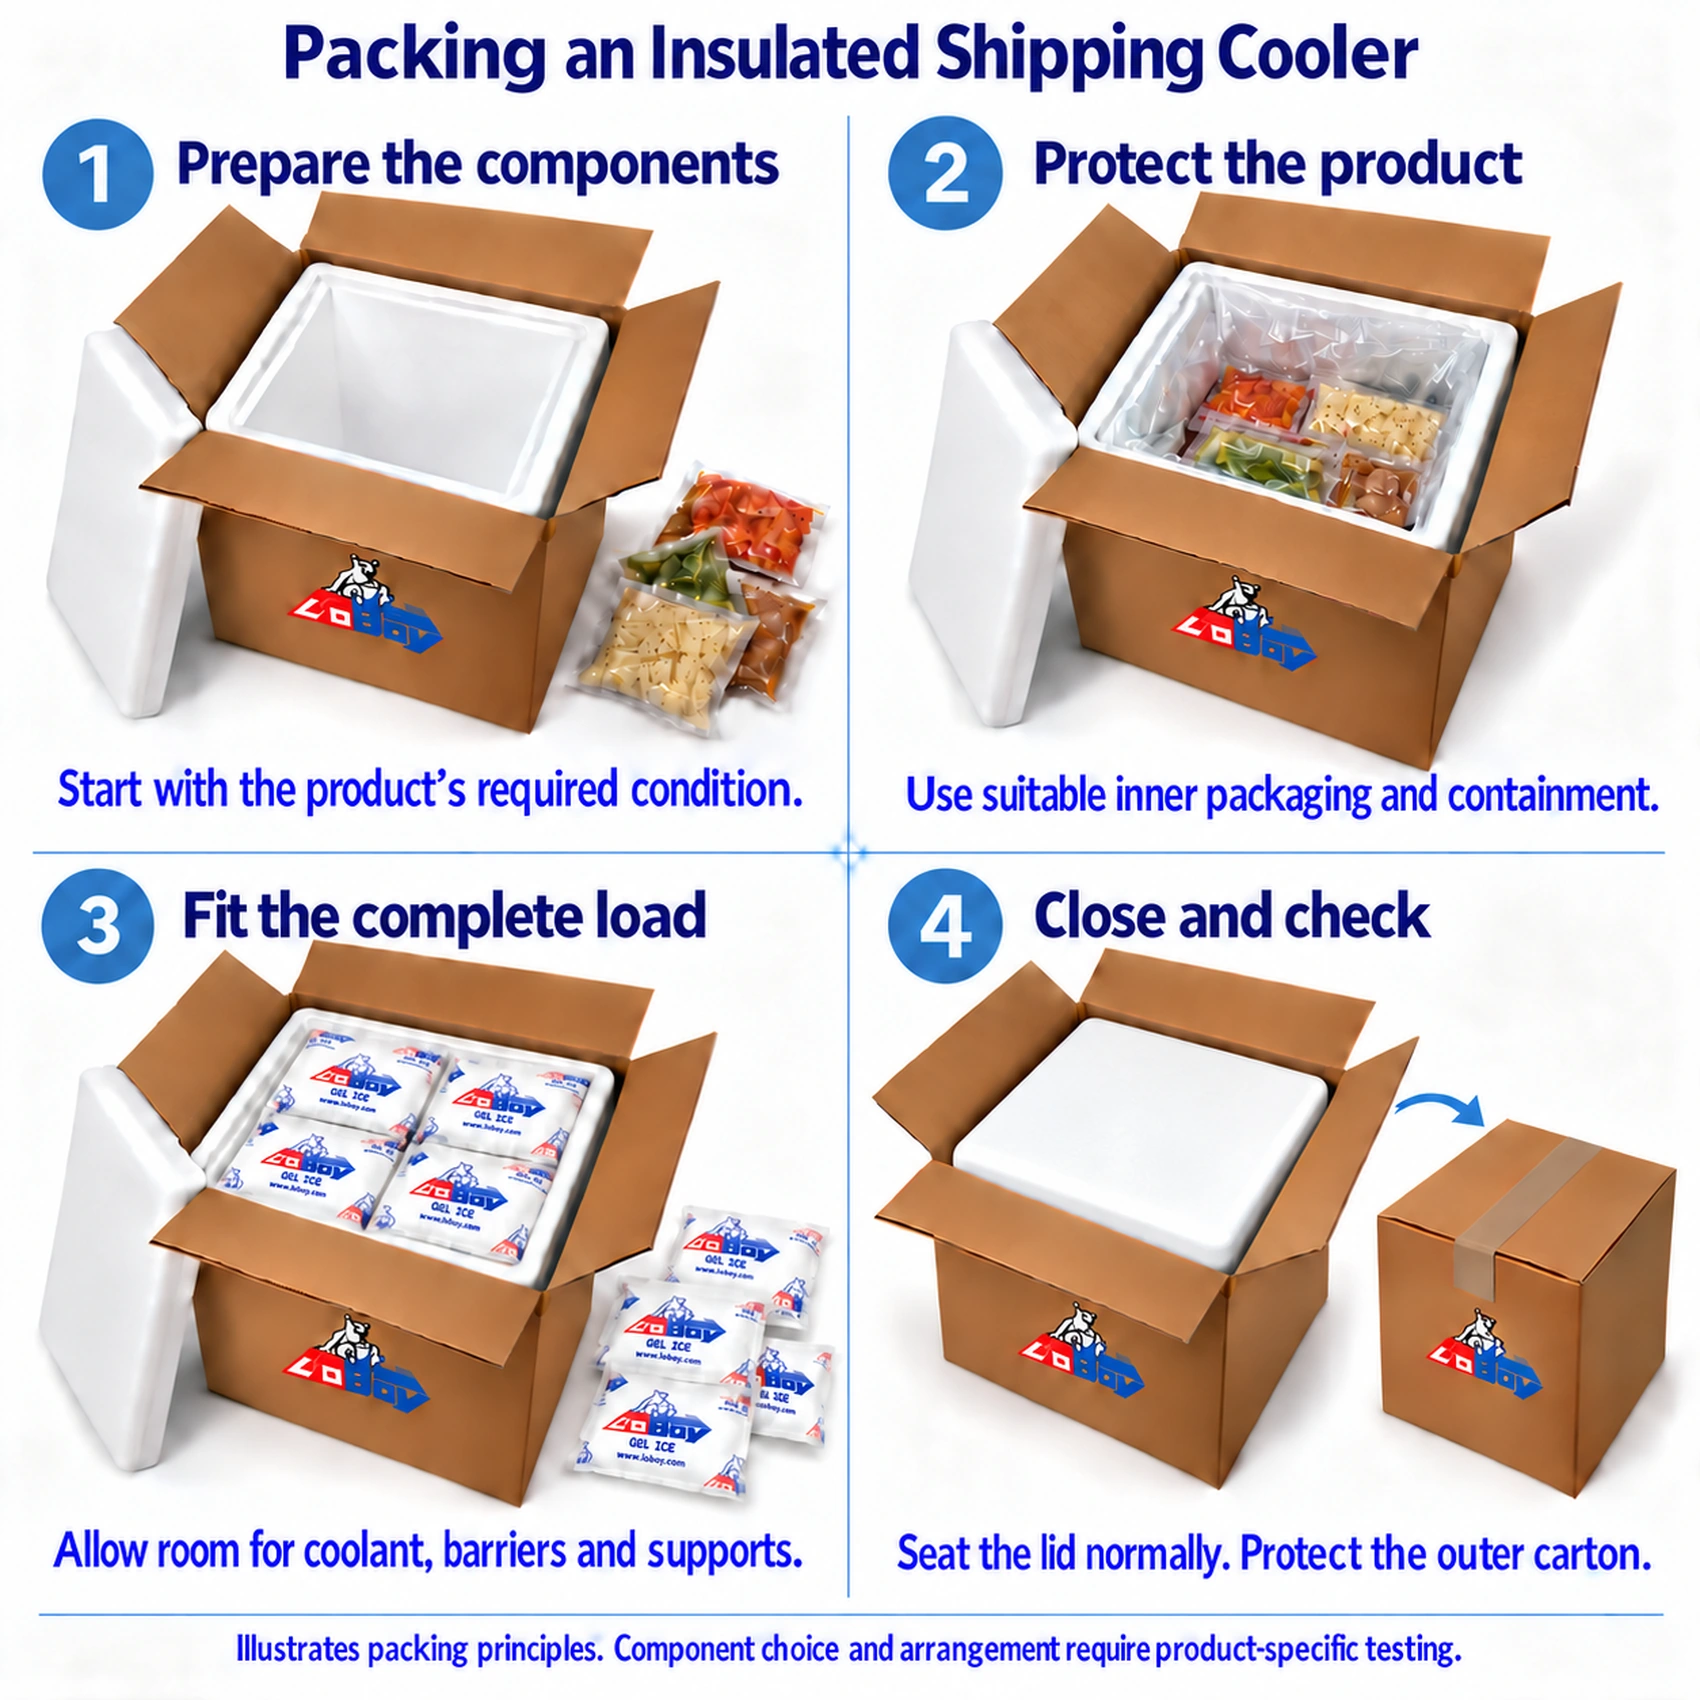
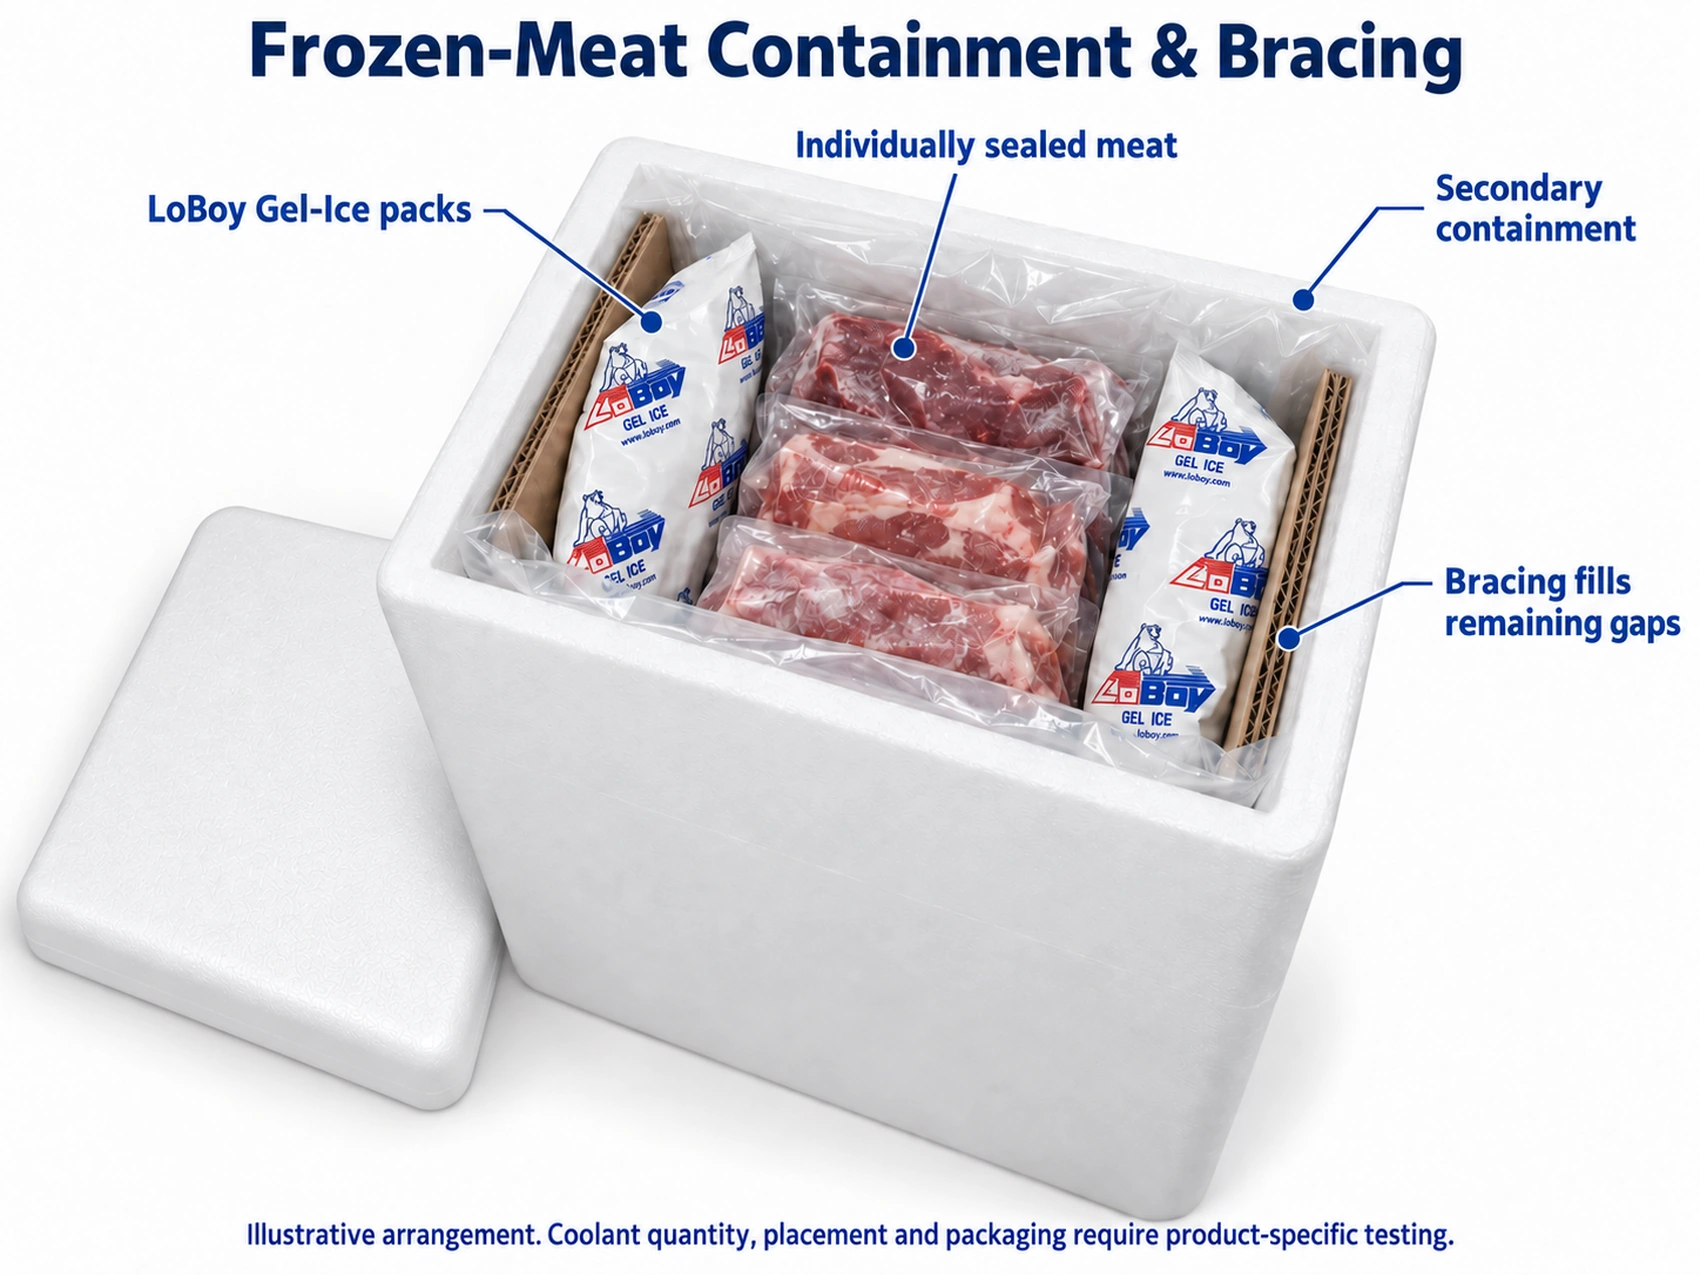
For a typical meat shipment, begin by trying prepared gel packs around the sides and across the top of the wrapped order. LoBoy's meat-packing guide uses that approach as a starting arrangement. It distributes coolant around the contents rather than concentrating everything in one corner.
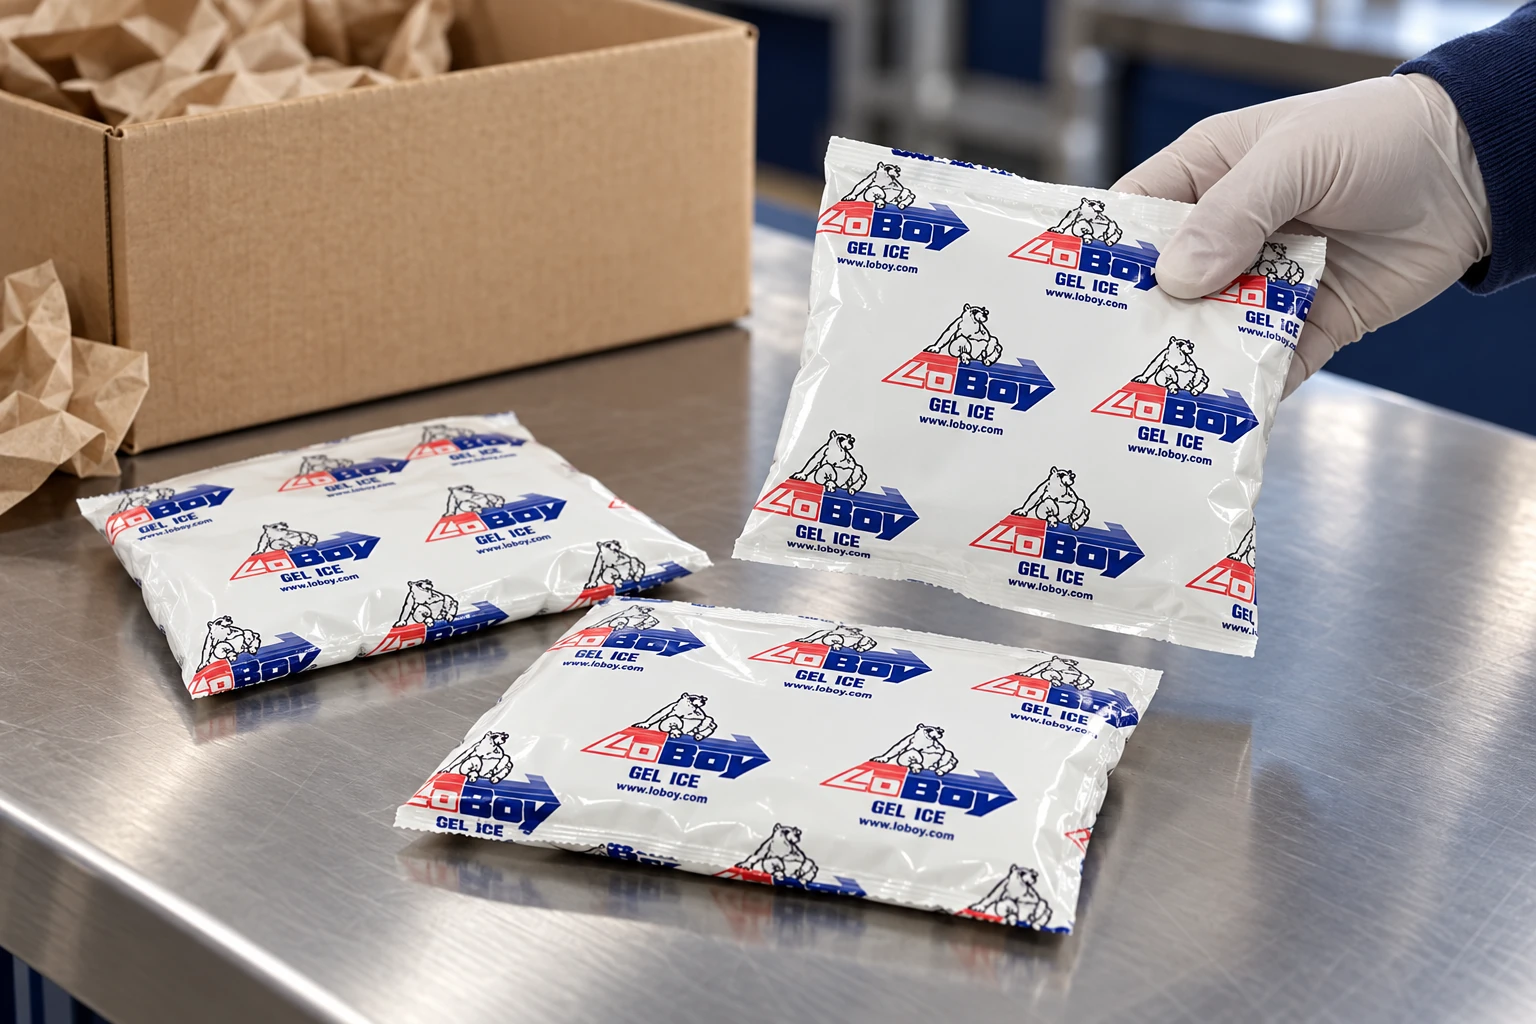
From there, adjust the proposed layout around the real product. A tall tub, flat meal trays and an uneven stack of wrapped meat leave different spaces for coolant. Some products also need separation from frozen packs to prevent freezing damage.
Build the complete sample package, check that it fits and stays supported, then test whether the arrangement protects the whole order through the delivery you plan to offer.
Arrange the product before choosing coolant positions
Put together the order in its actual retail packaging. Include trays, protective wrapping and any layers needed to contain leaks. Look at the shape of that complete load and the space available beside, above and below it.
Leave room for the planned coolant from the beginning. A cooler that barely closes with the food inside may not be large enough once you add gel packs and protection. Check that the lid closes normally without pressing onto seals, trays or the product.
Choose the pack shapes around those available spaces. A thin pack may fit beside a tray where a thicker one won't. Record which size goes in each position so a packer doesn't have to improvise.
Browse LoBoy Gel-Ice packs
Try side and top placement with the complete load
Place the proposed side packs alongside the protected product, then add the top packs in the arrangement you plan to evaluate. Check whether the coolant is distributed around the order and whether any product sits in an exposed area with little nearby cooling.
A bottom position may also be worth evaluating where the product and package call for it. Check support and contact carefully: the weight of the load shouldn't damage the gel pack or leave a retail tray unstable. There isn't one top-only or bottom-only rule that establishes the right arrangement for every shipment.
Take a photograph before adding the top layer. Once that layer is in place, it may hide the side packs and the way the product is supported. A second photo can show the finished arrangement before closure.
Protect products that can be damaged by freezing
Before putting a frozen pack directly against a product, check whether that contact is suitable. A product that needs refrigeration may still be damaged if the area touching the pack freezes.
Use the separation specified for that product and include it in the sample package. The material and thickness affect how the product fits and how heat moves through the arrangement. Changing the separator later changes the package you evaluated.
Keep those requirements specific to what you're shipping. An arrangement that works for meat doesn't establish that it's suitable for a temperature-sensitive medicine. Follow the relevant product requirements when choosing the coolant, its preparation and its distance from the contents.
Keep the packs in position during handling
A side pack can start in the right place and slide under the order when the parcel is tilted. That movement changes which products are near the coolant and can alter the support beneath them.
Use appropriate support or cushioning to stabilize the arrangement. Check that it doesn't squeeze the product, damage a coolant pouch or take up space needed for other components. Include those materials in the complete trial.
After representative handling, compare the opened parcel with your starting photographs. Record where packs moved and look for rubbing, leaks, crushed trays or strained seals. Temperature performance and physical protection both need to be checked.
Measure temperatures across the product load
Choose monitoring locations before testing. Items near the lid or cooler wall may experience different conditions from those in the center. Take measurements that help you assess the product throughout the load, including positions your plan identifies as vulnerable.
Record where each sensor sits and what it measures. Air inside the cooler can differ from product temperature, so one convenient air reading may not answer the question you need to resolve.
Set the product's temperature requirements before the trial. If an outside position misses its limit while the center passes, investigate that result. The successful reading doesn't establish that the whole order was protected.
Test through the full delivery period
Include packing, waiting for pickup, carrier transit and the time before the recipient stores the product. Consider the route, season and delays you want the package to cover.
For example, a planned 48-hour test needs defined exposure conditions and product requirements. The duration alone doesn't establish that an arrangement will work. Keep those details with the readings so you know which deliveries the result supports.
The guide to how long gel packs stay cold explains how preparation, insulation and the full shipping period affect that evaluation.
Compare placement changes consistently
If you want to compare two layouts, keep the product, starting conditions, pack models, coolant weight and exposure consistent where practical. That helps you understand the effect of moving the packs.
If the revised layout also uses more coolant or another protective layer, record those changes. You may find a useful package, but you need to know which arrangement produced the result.
Use the same temperature requirements and handling checks for each trial. The gel-pack quantity guide helps you record pack counts and total coolant weight alongside placement.
Give staff photos and complete packing directions
Once an arrangement meets your requirements, show the loading sequence in clear directions. Identify the product range, cooler, carton, gel-pack sizes, quantities and preparation steps. Show each position and any separator or support layer.
Include photos before the top layer covers the product, as well as the completed arrangement. Ask someone who didn't develop the package to build a sample from those directions. Clarify any step that requires guessing.
Keep the current version at the packing station. Give staff a way to flag an order that doesn't fit rather than moving packs without checking. A larger order, wider tray or different gel-pack size may need a revised arrangement and another trial.
Check changes to trays and coolant before use
Suppose your tested meal-tray order has gel packs down the sides. A replacement tray has a wider rim, leaving less space. Moving one pack to the top might solve the fit, but it also changes product contact and lid clearance.
Check whether the new arrangement is covered by your earlier evaluation. If it isn't, test the revised complete package before using it routinely. The same review applies if you substitute another gel-pack model or change a support layer.
Switching to dry ice needs its own review. Dry ice has different handling, contact and gas-release requirements, so the gel-pack directions shouldn't simply be reused for it.
Choose gel-pack sizes for the available space
Measure the spaces alongside and above your protected order before comparing LoBoy Gel-Ice packs. Bring those dimensions, product requirements and delivery plans to the LoBoy Client Solutions Team.
The gel-pack shipping guide connects placement with preparation, quantity and handling. Use the complete package in your trials so the final directions describe what your team will actually ship.