How to Reduce Empty Space in Cold Shipments
Filler and dunnage help turn a loose order into a stable shipment. They cushion containers, brace the load, separate fragile items and keep coolant where it belongs. Used well, these materials are part of efficient cooler packing: they help the product arrive intact without forcing you to fill every gap with more merchandise or coolant.
Dunnage is the packing material used to support, secure and protect the contents during shipping. Filler occupies unused space; cushioning absorbs handling forces; dividers and inserts keep items positioned. One material may do more than one of these jobs. Choose it for the weight, shape and protection needs of the order, then check how it works with the cooler and coolant.
The goal is a stable shipment with enough room for temperature control and protection. The following steps explain how to choose and place the supporting materials, and when another cooler size may provide a better fit.
Measure the product with all its shipping materials in place
Measure the actual jars, pouches, trays or other sale units with their normal packaging. Include the coolant, dividers, absorbent material and any required barriers. Compare that full arrangement with the cooler's usable inside dimensions.
A box that looks oversized around the product alone may be the right size once those materials are added. Conversely, a cooler chosen for your largest order may leave a small order with large gaps on every side.
Keep inside and outside dimensions separate. Inside dimensions determine what fits; outside dimensions matter for the protective carton and shipping quote. Our cooler-size guide explains how to compare those measurements.
Identify which gaps allow movement and which are needed
Look at each open area before filling it. Is it intended for coolant? Does it keep the product away from a freezing surface? Is it part of the airflow required by fresh produce packaging? Preserve those functions while correcting unnecessary movement.
For example, the gap between two jars may need a divider to prevent glass-to-glass contact. The space between a refrigerated item and frozen coolant may need a specified separator. Those are different problems, even if both spaces look empty at first.
For a medical shipment, keep the arrangement within the approved packing instruction. Do not remove or add a component without the responsible quality team's review.
Choose support that addresses the actual problem
| What you observe | What to consider |
|---|---|
| Jars or bottles knock together | Use suitable dividers or fitted compartments that keep them apart during handling. |
| A small order slides across the bottom | Consider a smaller suitable cooler, a fitted insert or support that holds the protected load in position. |
| Coolant slips away from its intended location | Use the support specified for the tested layout so the coolant stays where it needs to work. |
| Heavy containers press on weak lids | Change the stacking arrangement or add load-bearing support that keeps weight off those lids. |
| The insulated cooler shifts inside its outer carton | Check the carton fit and any support needed around the cooler. Stabilizing the inner product alone will not correct this. |
Choose materials suitable for cold, potentially damp conditions and for the product being shipped. Check that they stay effective during the trial. Filler that compresses, moves or loses its support when wet may leave the same gap later in the journey.
Choose filler and dunnage for the load you are shipping
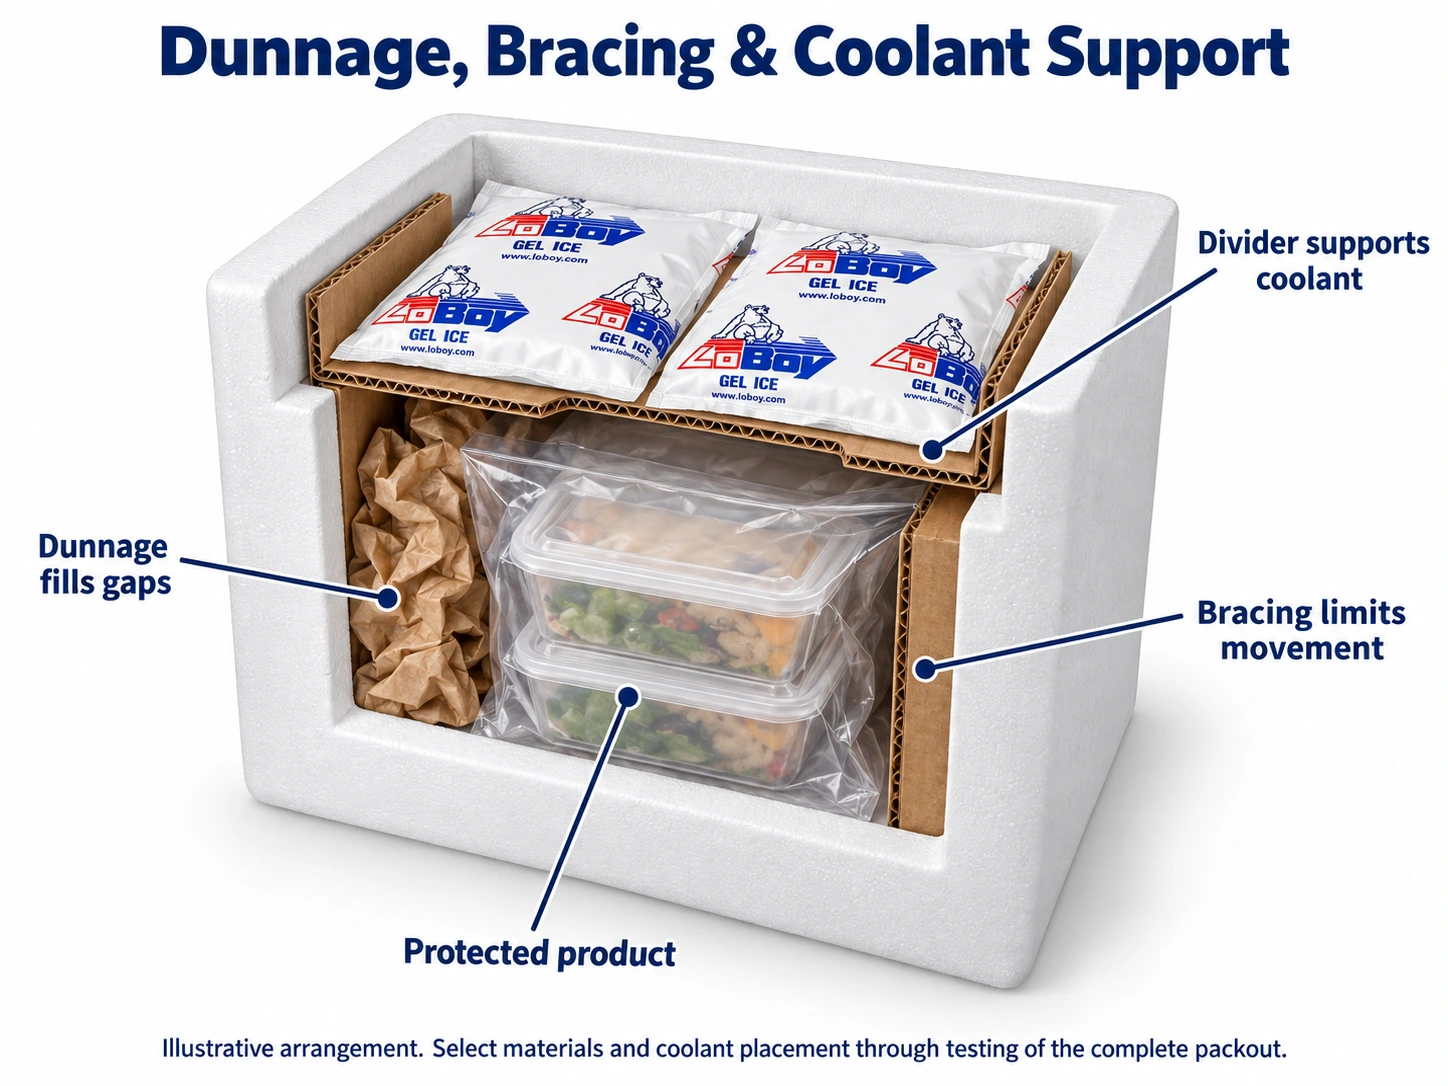
Different materials offer different kinds of support. Start with the product's weight and fragility, the shape of the gap and the moisture expected inside the cooler. Use clean materials appropriate to the application, and keep them outside sealed food or medical-product packaging unless they are specifically suitable for the intended contact.
| Material | Practical use in a cold shipment | What to check |
|---|---|---|
| Corrugated dividers, pads and fitted inserts | Separate jars, create compartments, locate coolant or help support layers of product. | Select a design and strength that carry the intended load. Check performance with condensation or other expected moisture. |
| Bubble cushioning or suitable foam sheets | Cushion individually packaged fragile items and protect surfaces from rubbing. | Wrapping changes heat transfer as well as fit. Check the thickness and placement with the intended cooling arrangement. |
| Kraft paper or formed paper cushioning | Fill suitable irregular gaps and help restrain lighter packaged items. | Check compression, settling and moisture effects. Loose crumpled paper is not dependable structural support for a heavy load. |
| Air pillows | Occupy larger unused spaces around suitable lightweight packaged goods. | Check puncture risk and support during the trial. Do not rely on them to hold up heavy jars or sharp-edged containers. |
| Fitted foam blocks or molded supports | Hold a repeatable load in a defined position and protect vulnerable areas. | Match dimensions and support to the order. Include the material in temperature testing because it changes the arrangement around the product. |
| Absorbent pads | Help manage incidental liquid where the product and shipping instructions call for absorbency. | Use the appropriate capacity and placement. Absorbency is a separate function from cushioning or load-bearing support. |
UPS's packaging guidance describes cushioning choices. Its heavy-item guidance warns that loose foam peanuts and crumpled paper can crush and shift under heavy loads. For perishables, FedEx's packing guide also covers absorbent materials and insulated containers. Apply general material guidance within the temperature-control needs of your own shipment.
Place support where it prevents movement or damage
Build the support into the loading sequence. Put any specified bottom protection in place, position the contained products, separate fragile containers and add the intended side bracing. Secure the coolant in its tested location, then add any required top protection before checking the lid.
For example, four sealed jars in a cooler may need a divider between each jar, support around the outside of the group and a pad that keeps an upper layer from pressing on the lids. A smaller order of sealed pouches may instead need an insert or suitable side filler to prevent sliding while the coolant remains in position. The material and amount depend on the actual load.
Use enough support to restrain the order without squeezing containers, bending trays or forcing the cooler lid upward. Check all sides of fragile products rather than assuming a handful of filler on top protects the whole shipment. Keep required produce vents and dry-ice gas-release paths clear.
Effective dunnage can make a suitable cooler useful for more than one order size. Give each order range its own repeatable support layout so packers know what to add and where to put it.
Compare cooler sizes and dunnage together
Compare the full expense of each suitable arrangement with the perishable shipping costs guide. Count dunnage, assembly time, coolant and the finished carton’s carrier charge before assigning savings to a smaller box.
Compare the complete cost and performance of a larger cooler with suitable dunnage against a smaller cooler with its own protection. A smaller option may reduce filler and overall package size; a well-designed insert in an existing cooler may simplify packing across several order sizes. Include material cost, assembly time, storage space and the finished carrier price in the comparison.
Keep all required coolant and protection in the comparison. A smaller cooler is unsuitable if it leaves no room for the cooling supply or forces the lid down onto the product. Consider a few defined packing arrangements for different order sizes rather than improvising every shipment.
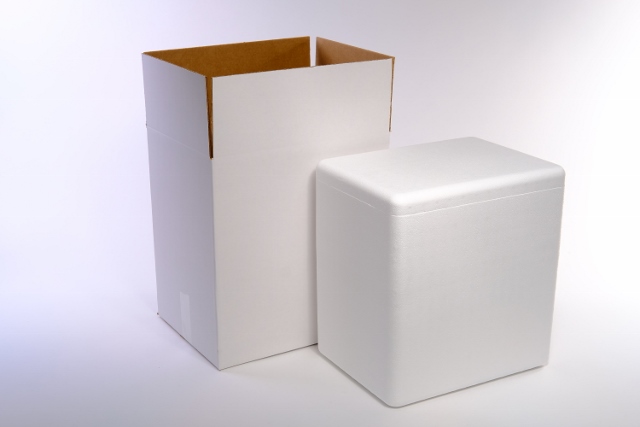
LoBoy cooler dimensions can help you compare those options. Use the smallest complete arrangement that meets the product's temperature, protection and handling requirements.
Browse LoBoy shipping coolers
Keep enough room for coolant and protective barriers
Do not reduce coolant simply to fit a smaller package. The required amount depends on the product load, starting temperature, insulation, weather and full delivery window. Empty-space reduction does not establish a new coolant requirement by itself.
Likewise, extra filler is not a substitute for coolant. Different materials change how heat moves through the package, so filling a gap does not guarantee a longer cold duration. Check the revised arrangement's temperature performance.
Keep any required barrier between frozen packs and products that must remain chilled. A tighter arrangement can bring the product closer to a freezing surface and create a problem that was absent in the previous layout.
Check whether the support still works as coolant changes
Inspect the package after the trial, not only when it is first assembled. Dry ice turns directly into gas during transit, leaving space behind. Products that were held in place by a large dry-ice block may be free to move after much of that block is gone.
Gel packs may also change shape as they thaw. Check whether the arrangement still supports the product and holds coolant in the intended areas. Do not rely on the starting shape of a consumable or thawing coolant as the only structural support.
For dry-ice shipments, preserve gas release through the cooler and outer package. Never make the package airtight while trying to eliminate gaps. Follow the applicable carrier's packaging and closure instructions.
Check the lid and outer carton with the full load inside
Seat the cooler lid normally. Look for filler, coolant or product containers pushing upward. If you need to force it down, change the arrangement or cooler size instead of compressing the contents.
Then check the cooler inside its protective outer carton. A stable inner load can still be damaged if the whole cooler moves around the carton. Use the carton and support appropriate to the shipping arrangement.
After representative handling, look for rub marks, crushed corners, moved coolant, bent trays and stressed seals. Their locations help identify where support is missing or excessive.
Test small and large orders under realistic shipping conditions
To find out whether the change works, test a fully packed shipment under conditions similar to the route. Include the actual product, coolant, supports and outer carton, along with the intended delivery window and delay allowance.
Check both movement and temperature. A package can become more stable while a new separator changes cooling near the product. Use representative sensor positions and assess the full temperature record against the product's requirements.
Test the smallest and largest orders covered by the arrangement. One may leave more space for movement; the other may put pressure on containers or restrict the intended layout. Record each version rather than assuming the same filler quantity works for both.
Give packers a clear layout they can repeat
Keep a photo or drawing of the arrangement that passed review. Identify the cooler, product count, coolant, barriers, support materials and loading order. Explain which spaces must remain available and which need support.
Review changes in order size, container shape, coolant or filler before routine use. If a substitute behaves differently, staff need an updated instruction rather than a guess at the packing station. Our cooler-packing guide connects the layout with the full assembly process.
Get help comparing cooler sizes for your order range
Use the Ship Perishables hub for product-specific packing considerations. Share your smallest and largest protected orders, coolant layout and required separation with the LoBoy Client Solutions Team when comparing LoBoy cooler dimensions.
A useful fit keeps the order stable while preserving everything needed to protect it. Check those needs together before settling on the cooler and filler.