Shipping Meat Subscription Boxes Consistently
Your subscribers expect a good box of meat every time they order. They may be excited about next month's steaks or a roast for the weekend, but they probably aren't thinking about the cooler, the packing arrangement or how long their delivery might sit on the porch. Those details are yours to work out.
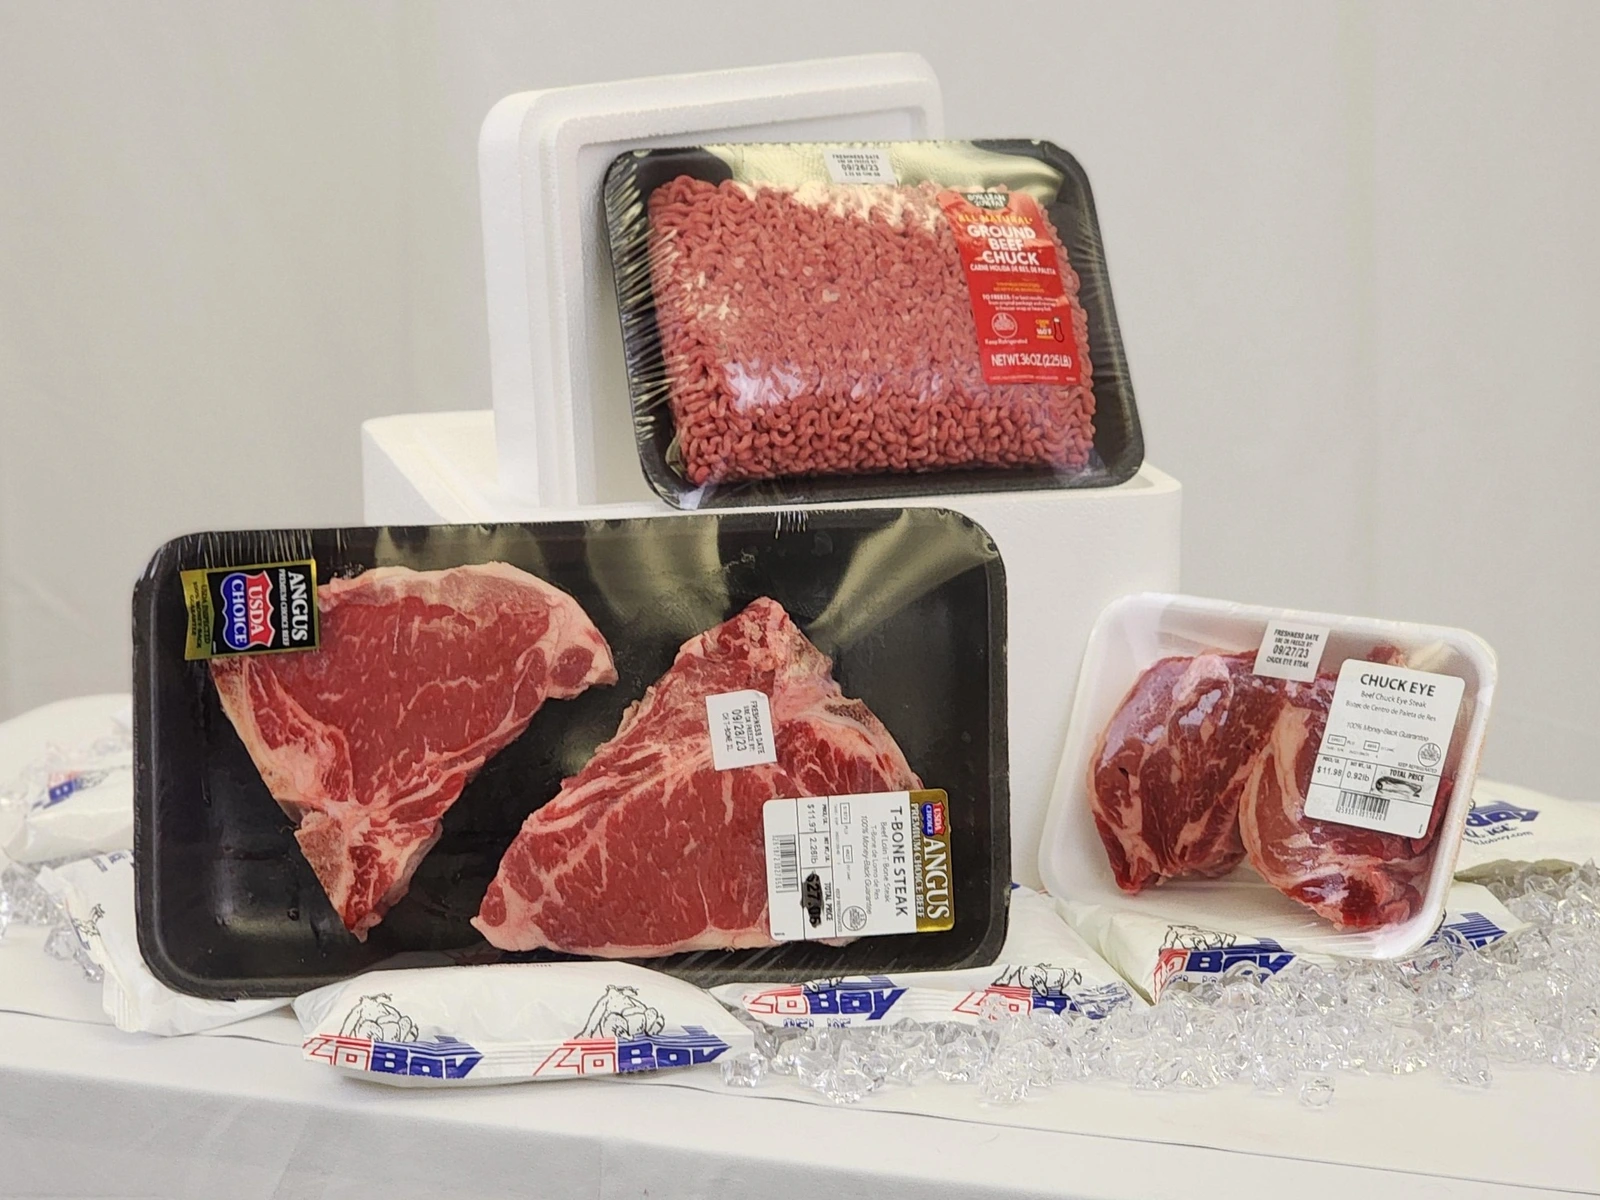
That gets more complicated when the contents change. A box that worked well for a neat stack of steaks may need a different arrangement for a bulky roast. Give customers a few add-on choices, and your packing team can suddenly be dealing with combinations nobody tried before.
To keep those monthly deliveries dependable, work out how you'll pack the orders you actually sell. Then give your team clear directions they can follow, even on the busiest shipping day.
Start with what's going into the box
Before choosing a cooler, put together a few real orders. Include the smallest subscription, the largest one and any combinations that look difficult to arrange. Use the meat in its actual retail packaging. A product list will tell you what a customer bought, but it won't show you whether a roast presses against the lid or a vacuum-pack seal gets caught beneath another cut.
Don't judge the fit by meat weight alone. Ten pounds of flat steak packs can take up space very differently from ten pounds that includes a large roast. Both orders need room for the coolant and protective materials, too. A cooler that barely closes with the meat inside may leave you with nowhere to put everything else.
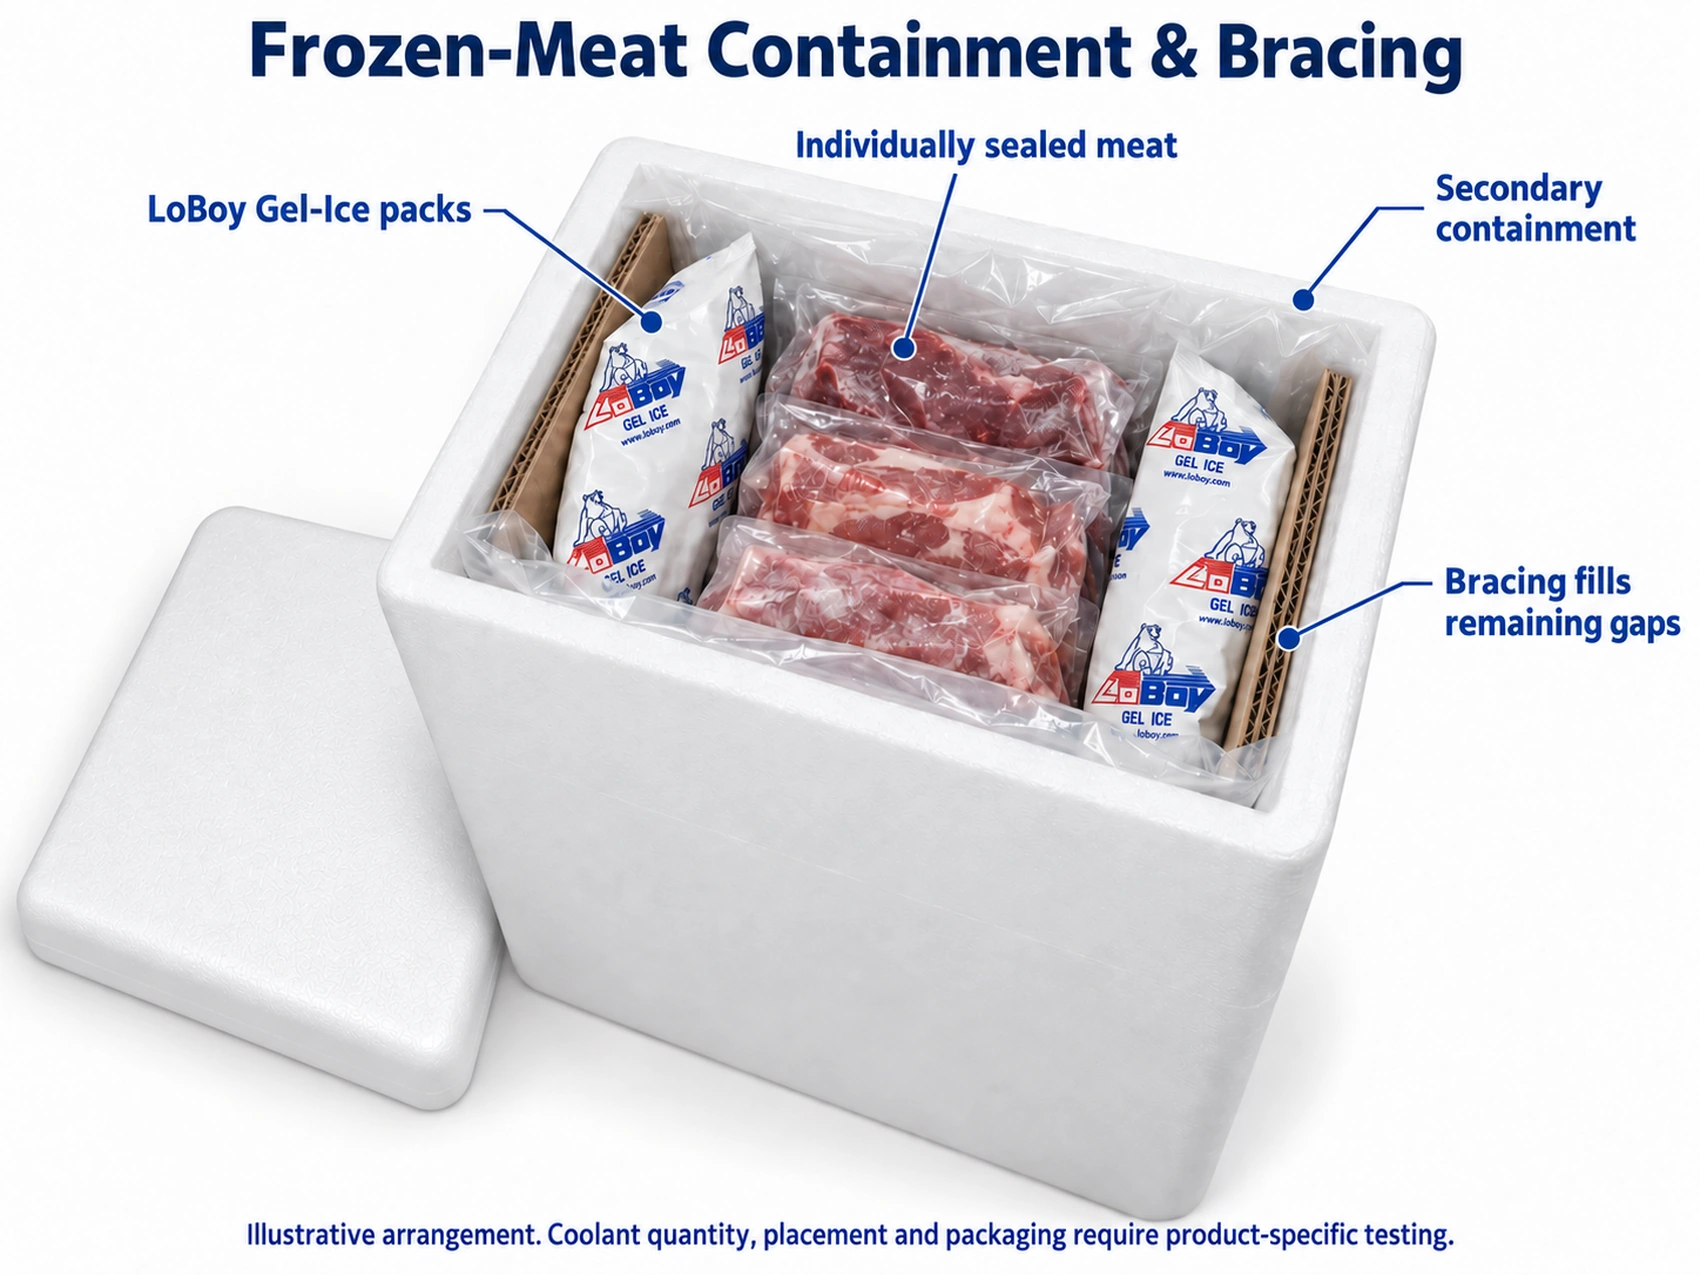
Try the complete arrangement before committing to it. Look for packs that can slide around, exposed seals that might rub against an edge and places where the lid puts pressure on the meat. Take photographs as you build the box so you can show someone else exactly where each part goes.
You may need more than one way to pack your subscriptions
You don't necessarily need a different cooler for every menu. Several orders may work in the same box with the same packing directions. The useful question is whether you've checked that arrangement with the different orders you plan to put in it.
For example, your smaller steak selections might share one layout, while larger orders with roasts use another. Give each layout a name your team will recognize, such as “small steak box” or “large mixed box.” Show which orders belong in each one, which cooler and carton to use, and where the meat and coolant go.
Be specific about the limits. If the directions cover four to six packs, a seventh pack needs a decision before it reaches the packing table. Otherwise, someone has to squeeze it in, move the coolant or choose another box on the spot. That improvised arrangement may behave differently from the one you tested.
Make sure checkout choices work at the packing table
Custom subscriptions are appealing because customers can choose what they like. Those choices still need to produce an order you can pack and ship reliably.
Before opening the next month's menu, check the combinations your ordering system allows. Can someone add two roasts to a small steak box? Can they double the number of packs? If an extra item means using a larger cooler or a different arrangement, make sure the final order tells the packing team which directions to follow.
The same goes for changes made after checkout. A customer service representative may see a simple product swap. The person packing the order needs to know whether that swap changes the box. Keep the final item list and the packing directions together so nobody has to guess which version of the order is correct.
A substitution can change more than the menu
Suppose this month's usual steak selection is short, and you want to replace part of it with a roast. The total weight may stay about the same, but the roast is taller and leaves different gaps around the other packs. It might also take up space you were using for coolant.
Pack a sample with the replacement before approving the swap. Include the real wrapping, protective layers and coolant. Check whether the lid closes properly, whether anything presses against a seal and whether the meat can move during handling.
If the new order fits an arrangement you've already tested for those conditions, give the team those directions. If it doesn't, evaluate and test the revised package before using it for customer shipments. A shortage is much easier to deal with before packing day than while a line of open coolers is waiting.
Check changes in retail packaging, too. The same cut from a different supplier may arrive in a longer pouch or with a different seal. A familiar product name doesn't guarantee a familiar fit.
Be careful when adding refrigerated products
A frozen meat subscription may seem like a convenient place to add a refrigerated sauce or another chilled product. First, check how that product needs to be kept. Something meant to stay refrigerated may not tolerate the conditions used to keep the meat frozen.
Putting a divider between the products doesn't establish that each side will stay at the right temperature. If you want to ship them together, test the actual combination and confirm that it meets both products' needs throughout the trip. If you ship them separately, tell the customer to expect separate parcels and give the packing team directions for each one.
Test the whole shipment, including the time spent waiting
To find out whether your packaging works, test fully packed orders under conditions similar to the deliveries you're planning. Include the smaller and larger orders, along with any unusual arrangement that could create a problem. A small order may leave more empty space. A large one may crowd the coolant or put pressure on the retail packs.
Record what you put in each test box: the meat's starting condition, the cuts and quantities, the cooler and outer carton, and the amount, condition and placement of the coolant. That information lets you repeat a successful test and understand what changed when another one falls short.
Measure temperatures at locations that help you understand what is happening to the meat, including vulnerable positions near the outside of the load where appropriate. A reading from the air in the middle of the cooler doesn't necessarily tell you what happened to every pack. Use a consistent measurement method so the results mean something when you compare boxes.
After the trial, inspect the packaging as well. Did a seal leak? Did the meat shift? Did a pack rub against an edge? Keeping meat cold and protecting its packaging are both part of a successful delivery.
Count the entire time the package needs to protect the order. That includes packing, waiting for pickup, carrier transit and the time before the customer brings it inside. A two-day carrier service doesn't account for a box packed hours before collection or left outside after delivery. The guide to how long meat stays frozen during shipping explains how to work through that timing.
Consider the weather and destinations you serve, too. A successful trial in mild conditions doesn't establish how the same box will perform on a hotter route or after a delay. Use those differences when deciding what to test and which deliveries your packaging can support.
Plan for the busiest day of the month
A recurring subscription can put a lot of orders through your packing area at once. Think about the first box packed, not just the last one loaded onto the truck. If the first order waits several hours for pickup, that waiting time belongs in your plan.
Check the shipping calendar before promising a dispatch date. Weekends, holidays and changes to collection schedules can affect how long a shipment takes. Make sure the service you intend to use is available for the destinations receiving that month's orders.
Decide in advance what your team should do if the pickup is missed. An extra night of waiting changes the trip you've planned for. Have someone review whether the affected orders can still be shipped under your established conditions before sending them on their way.
Write directions a new packer can actually use
A useful packing instruction should let someone build the box without asking its designer to stand beside them. Start with a photo of the finished arrangement and a list of everything needed. Identify the cooler, carton, protective pieces and the orders those directions cover.
Then walk through the loading steps in order. Show where each cut goes, how to protect vulnerable seals, and where to place the coolant. Specify the coolant amount, form and starting condition that your testing supports. “Add enough coolant” leaves the most important part of the decision to whoever happens to be packing that day.
Have someone who didn't develop the arrangement pack a sample from those directions. Watch where they hesitate. If a step needs a spoken explanation, add that explanation or a clearer photo before using the instructions for a full batch.
Get the components and labels ready before bringing meat out of its required storage. If a cooler size or insert is missing, resolve it first. Keep current directions at the station and move old ones out of the way so nobody follows last month's arrangement by mistake.
If you use dry ice, the instructions also need to cover safe handling, protective equipment, gas release and the carrier's applicable preparation requirements. A box that keeps the meat frozen still has to be prepared correctly for the carrier to accept it.
Give every box a short check before it leaves
Keep the final check simple enough that your team can use it on every order. Before closing the cooler, confirm that it contains the correct meat, that the retail packs are intact, and that the protective pieces and coolant match the directions. Make sure the lid fits properly.
After closing the parcel, check the address label and shipping service. Keep a record of which packing directions were used for that order or batch. You don't need to rewrite the entire procedure for every shipment; you need enough information to find out how a particular box was packed if a customer later reports a problem.
Tell subscribers what to do when the meat arrives
Let customers know when their order is expected and what to do when it arrives. Give them clear receiving and storage instructions for the products you've sent, along with a way to contact you about a delay, damaged packaging or meat whose condition concerns them.
Make those instructions easy to find before delivery day. Someone who discovers them at the bottom of the cooler has already had to decide what to do with the box.
Your customer service team should know what details to collect when something goes wrong. The order number, delivery time, affected products and photos of damage can help you investigate. Follow your food safety process when the meat's condition is uncertain, and never ask someone to taste it to decide whether it is safe. A refund or replacement resolves the purchase; it doesn't determine whether the original meat should be eaten.
Use delivery problems to find the part that needs fixing
If a customer reports a leaking pack, start by looking at its seal, its position and what could have rubbed or pressed against it. If meat arrives warmer than expected, look at the packing details, the delivery timing and the conditions along the route. These problems may need different fixes.
Compare reports across orders. Are most complaints coming from the roast-heavy selection? Did they begin after you changed coolers or retail-pack suppliers? Are they concentrated on a route where deliveries take longer? Keeping those details makes it easier to find a pattern instead of adding more packaging to every subscription without knowing why.
Try the proposed correction and check that it works before making it the new routine. Keep the earlier records so you can see what changed and which shipments used the previous arrangement.
Compare costs after you know the package works
For a subscription business, packaging has to be dependable and practical to buy, store and assemble every month. Once you've found arrangements that meet your needs, compare their complete cost: cooler, carton, protective materials, coolant, packing time and carrier charges.
A cheaper cooler may offer little saving if it needs a larger outer box or more coolant. A layout that looks good on paper may slow down the team when several hundred orders need packing. Consider lead times, order quantities and storage space alongside the price.
If you later want to remove a protective layer or reduce the coolant, check how that change affects the package and test it where needed. The results from the original arrangement don't automatically apply after you've changed its parts.
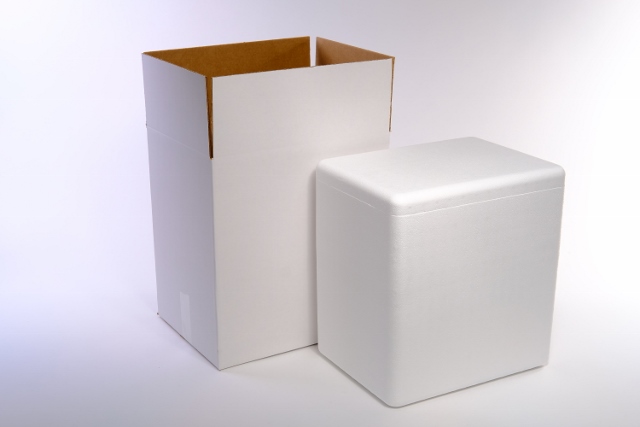
Browse LoBoy shipping coolers
Choose containers around the subscriptions you sell
Start with the real orders you want to ship: the small selection, the larger box and the cuts that are hardest to fit. Measure them in their retail packaging and allow room for the coolant and protection they'll need.
Bring those dimensions and your delivery plans to the LoBoy Client Solutions Team. You can compare LoBoy insulated shipping containers around what you're actually packing, then test the complete arrangement for your orders and routes. For the broader packing process, see How to Ship Frozen Meat.